
I'm also trying to learn how to control stringer better. This is a very hard thing to do. You have to find just the right spot in the flame, or to the side of the flame so that everything is hot enough and the stringer softens, but not melts in a big blob. I think I need thinner stringer to wrap beads with, that means it will be even harder to control probably!

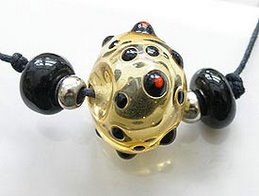
Bubbles bubbles, I'm managing to get bubbles in beads and keep trying different melted in dot methods. It's hard to place dots equally around the bead, well I find it hard, that affects the way the dots melt - if they are not spaced equally they will melt and move around in ways that you don't necessarily want them to.

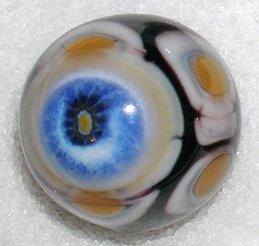
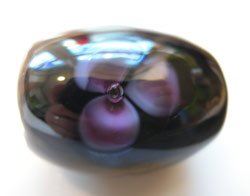
I like the way the blue/black bead turned out, it was supposed to be triangles and diamonds but the dots weren't equal so I got a big mishmash, but I like it anyway. Here to is my (tadadada) very first real encased flower bead!!! Don't laugh - its the one with the blue blob with a bubble in the middle. I started with a base bead in green, put some clear on top, then added some pea green stringer, more clear and then tried to make two flowers, one each side, both with three petals. The petals all kind of melted in to one another, so it looks like some kind of trumpet flower if you have a really good imagination ;o)

I learned a good tip to help with spacing of dots. Put a tiny flag of glass on your mandrel, that way you put your first dot parallel with the flag, turn the bead 180 and you can see where to put the next dot because the flag will be at the back of the mandrel, then it's easy to place one or two dots in between each of the first two, making them much more evenly spaced.
Look at the bead on the right, I did this one with a flag on the mandrel and managed much better spacing than the other beads in the row.

undefined








No comments:
Post a Comment